How to Make a River-Style Epoxy Resin Table Top

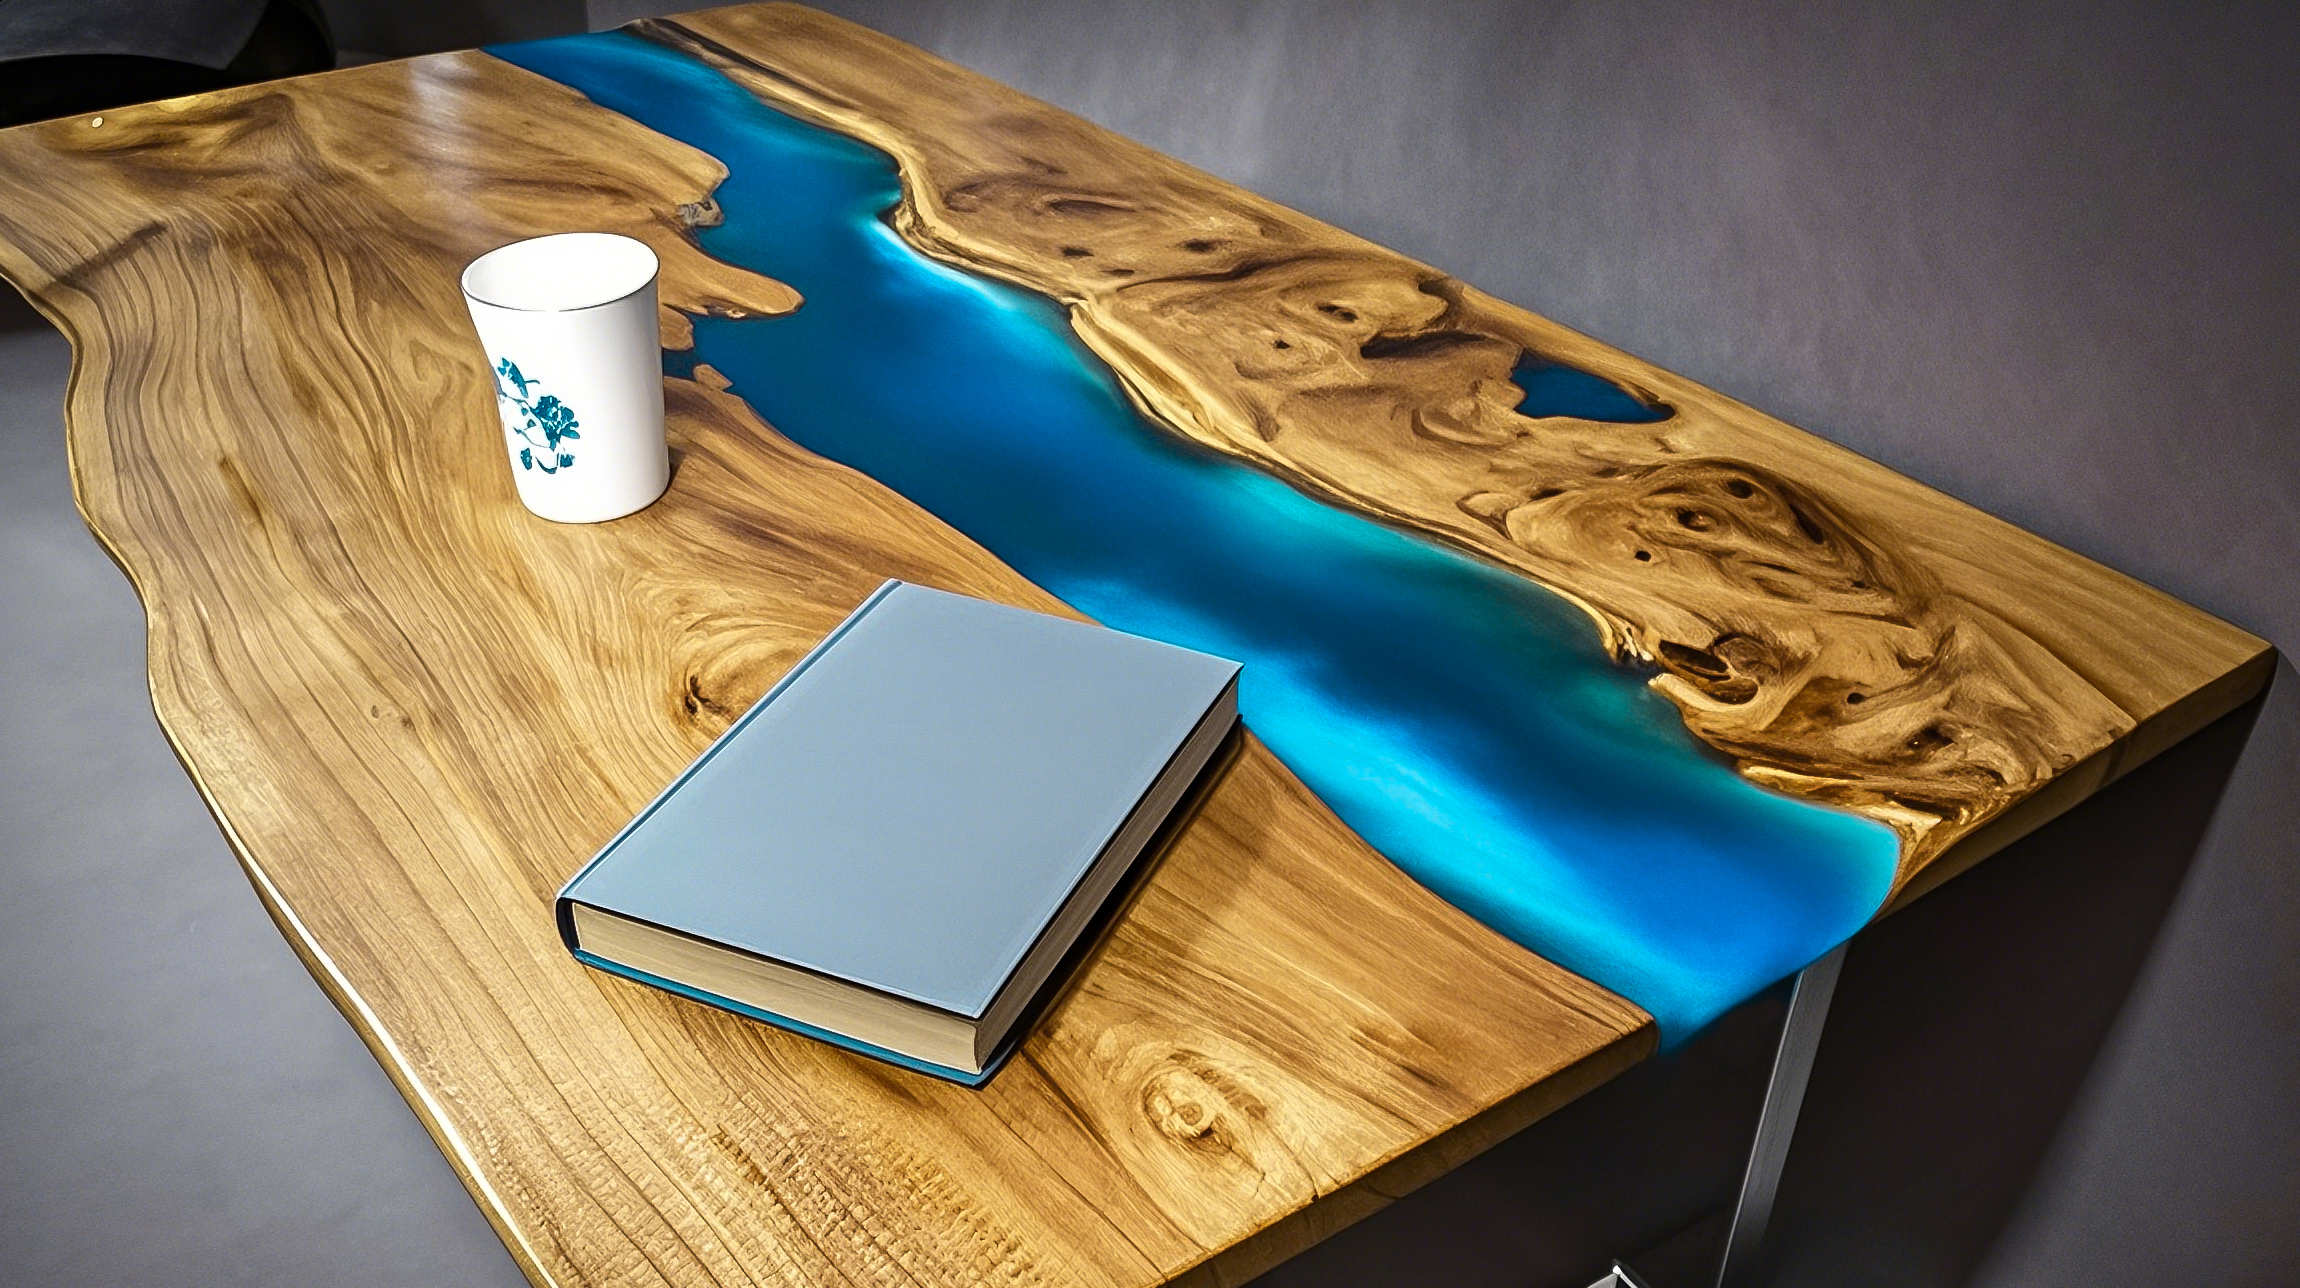
A river-style epoxy resin table top combines natural wood and vibrant resin to create a stunning centerpiece. Its unique design mimics the flow of a river, blending rustic charm with modern elegance. These tables have become a favorite among DIY enthusiasts because they’re not just beautiful but also durable. You don’t need to be an expert to make one. With the right tools, materials, and guidance, you can bring your own epoxy resin table top ideas to life and craft something truly extraordinary.
Key Takeaways
Gather essential tools and materials, including power tools, epoxy resin, and wood slabs, to ensure a smooth crafting process.
Prepare your wood by selecting high-quality hardwoods, removing bark, and ensuring it is completely dry to prevent moisture issues.
Create a sturdy mold using melamine boards and seal it properly to avoid resin leaks during the pouring process.
Mix the epoxy resin and hardener accurately, and pour in layers to create depth while minimizing air bubbles.
Allow adequate curing time for the resin to harden completely, monitoring for imperfections during the process.
Finish your table by sanding, polishing, and applying a protective sealant to enhance its beauty and durability.
Stay patient and practice techniques on small samples before tackling the full project to build confidence and avoid mistakes.
Tools and Materials for Epoxy Resin Table Top Ideas

Creating a river-style epoxy resin table top starts with gathering the right tools and materials. Having everything ready ensures a smoother process and better results. Let’s break it down into essential tools and materials you’ll need.
Essential Tools
Power tools (e.g., saw, sander, drill)
Power tools are your best friends for this project. A saw helps you cut the wood slabs to the desired size and shape. A sander smooths the surface, ensuring the resin adheres properly. A drill comes in handy for securing the mold or adding decorative elements. If you don’t already own these tools, consider borrowing or renting them to save costs.
Measuring tools (e.g., tape measure, level)
Precision matters when working on epoxy resin table top ideas. A tape measure ensures accurate dimensions for your wood and mold. A level helps you confirm that your workspace and mold are perfectly flat. This prevents uneven resin pours, which can ruin the final look.
Safety gear (e.g., gloves, goggles, respirator)
Safety should always come first. Epoxy resin can irritate your skin and eyes, so wear gloves and goggles. A respirator protects you from inhaling fumes during mixing and pouring. Make sure your workspace is well-ventilated to minimize exposure to harmful chemicals.
Materials
Epoxy resin and hardener
Epoxy resin is the star of this project. Choose a high-quality resin designed for table tops to ensure durability and a glossy finish. Mix it with the hardener in the recommended ratio, usually 1:1. Stir thoroughly for 5-7 minutes to activate the chemical reaction. For vibrant colors, add pigments or dyes, but don’t exceed 6% of the total resin volume to maintain the chemical balance.
Wood slabs (e.g., live edge wood)
Live edge wood slabs give your table its natural charm. Hardwoods like walnut or maple work best due to their durability and aesthetic appeal. Remove any bark and sand the edges to prepare the wood for the resin pour. Ensure the wood is completely dry to avoid moisture issues.
Mold materials (e.g., melamine board, clamps)
A sturdy mold is crucial for shaping your table. Melamine boards are ideal because resin doesn’t stick to them. Use clamps to secure the mold and prevent leaks. Make sure the mold sides are at least 1 inch taller than the expected resin pour height.
Pigments or dyes for coloring the resin
Pigments and dyes let you customize the look of your table. Experiment with different colors to create unique designs. You can even mix multiple pigments to achieve a marbled or gradient effect. Start with a small amount and adjust until you’re happy with the saturation.
Sandpaper and finishing oil or sealant
After the resin cures, sandpaper helps you smooth out any imperfections. Use progressively finer grits for a polished finish. Apply a finishing oil or sealant to protect the wood and enhance its natural beauty. This final step ensures your table stays stunning for years.
With these tools and materials, you’re ready to bring your epoxy resin table top ideas to life. Preparation is key, so take your time gathering everything you need. Once you’re set, the creative possibilities are endless!
Preparing the Wood and Workspace
Before diving into the creative process, you need to prepare both your wood and workspace. Proper preparation ensures a smoother workflow and a professional-looking epoxy resin table top.
Selecting and Preparing the Wood
Choosing the right type of wood (e.g., hardwoods like walnut or maple)
Start by selecting the perfect wood for your project. Hardwoods like walnut, maple, or oak are excellent choices because they’re durable and visually appealing. Live edge slabs, with their natural curves and textures, add a rustic charm to your table. Make sure the wood is seasoned and flat to avoid warping during the resin pour.
Pro Tip: Look for wood with a moisture content below 11-13%. This prevents issues like cracking or resin separation later on.
Removing bark, cleaning, and drying the wood to prevent moisture issues
Once you’ve chosen your wood, remove any bark from the edges. Bark can trap moisture and cause the resin to bond poorly. Use a stainless wire wheel or a scraper to clean the surface thoroughly. After cleaning, let the wood dry completely. Moisture in the wood can lead to bubbles or discoloration in the resin. If you’re unsure about the dryness, use a moisture meter to check.
Filling cracks and sanding the wood for a smooth surface
Inspect the wood for cracks or holes. Fill these imperfections with fast-drying resin or wood filler to create a stable base. Once filled, sand the entire surface using progressively finer grits of sandpaper. Start with coarse grit to remove rough spots, then move to finer grits for a smooth finish. A well-sanded surface ensures the resin adheres evenly and enhances the final look.
Quick Tip: Sand the edges of the wood as well. Smooth edges prevent sharp corners from damaging the mold or causing uneven resin flow.
Setting Up Your Workspace
Ensuring proper ventilation for working with epoxy resin
Epoxy resin releases fumes during mixing and curing, so ventilation is crucial. Set up your workspace in a well-ventilated area, like a garage with open windows or an outdoor shed. If working indoors, use fans to improve airflow. A respirator mask adds an extra layer of protection against inhaling harmful fumes.
Protecting surfaces with drop cloths or plastic sheeting
Epoxy resin can get messy. Cover your workbench or floor with drop cloths or plastic sheeting to protect them from spills. Secure the coverings with tape to keep them in place. This simple step saves you from hours of cleanup later.
Organizing tools and materials for easy access
Keep all your tools and materials within arm’s reach. Arrange them neatly on your workbench or a nearby table. Group similar items together, like measuring tools, pigments, and safety gear. An organized workspace helps you stay focused and reduces the chances of mistakes.
Pro Tip: Label your containers and tools if you’re using multiple pigments or resins. This avoids confusion during the mixing process.
With your wood prepped and workspace ready, you’re all set to start creating your masterpiece. Taking the time to prepare properly not only makes the process smoother but also ensures your epoxy resin table top ideas come to life beautifully.
Creating the Mold and Pouring the Resin
Now that your wood and workspace are ready, it’s time to build the mold and pour the resin. This step is where your epoxy resin table top ideas truly start to take shape. A well-constructed mold and careful resin pouring will ensure a flawless result.
Building the Mold
The mold acts as the foundation for your table, holding everything in place during the resin pour. Here’s how to create a sturdy and leak-proof mold:
Assembling the mold using melamine boards and clamps
Start by cutting melamine boards to the size of your desired table. Melamine is ideal because resin doesn’t stick to it, making removal easier later. Assemble the boards into a rectangular frame, ensuring the edges align perfectly. Use screws or clamps to secure the boards tightly. A solid mold prevents shifting during the resin pour.
Quick Tip: Apply a layer of packing tape or mold release spray on the inside surfaces of the mold. This makes it even easier to remove the cured resin.
Sealing the edges to prevent resin leaks
Resin leaks can ruin your project, so sealing the mold is crucial. Use silicone caulk to seal all the joints and edges inside the mold. Smooth the caulk with your finger or a tool to create a seamless barrier. Let the silicone dry completely before proceeding.
Ensuring the mold sides are at least 1 inch taller than the epoxy pour height
Measure the expected height of your resin pour and ensure the mold sides are at least 1 inch taller. This extra height prevents overflow and gives you room to work with tools during the pour. Double-check the measurements to avoid surprises later.
Mixing and Pouring the Resin
This is where the magic begins. Mixing and pouring the resin requires precision and patience to achieve a stunning finish.
Measuring and mixing the epoxy resin and hardener (e.g., 1:1 ratio)
Follow the manufacturer’s instructions for mixing the resin and hardener. Most epoxy resins use a 1:1 ratio, but always confirm this on the packaging. Measure the components accurately using separate containers. Pour them into a mixing bucket and stir thoroughly for 5-7 minutes. Scrape the sides and bottom of the bucket to ensure a consistent mixture.
Pro Tip: Mix slowly to avoid introducing air bubbles. If bubbles form, don’t worry—you’ll address them later.
Adding pigments or dyes to achieve the desired color
Once the resin is mixed, add pigments or dyes to create your desired color. Start with a small amount and gradually increase until you’re satisfied with the shade. You can mix multiple colors for unique effects like gradients or swirls. Stir gently to blend the pigments evenly.
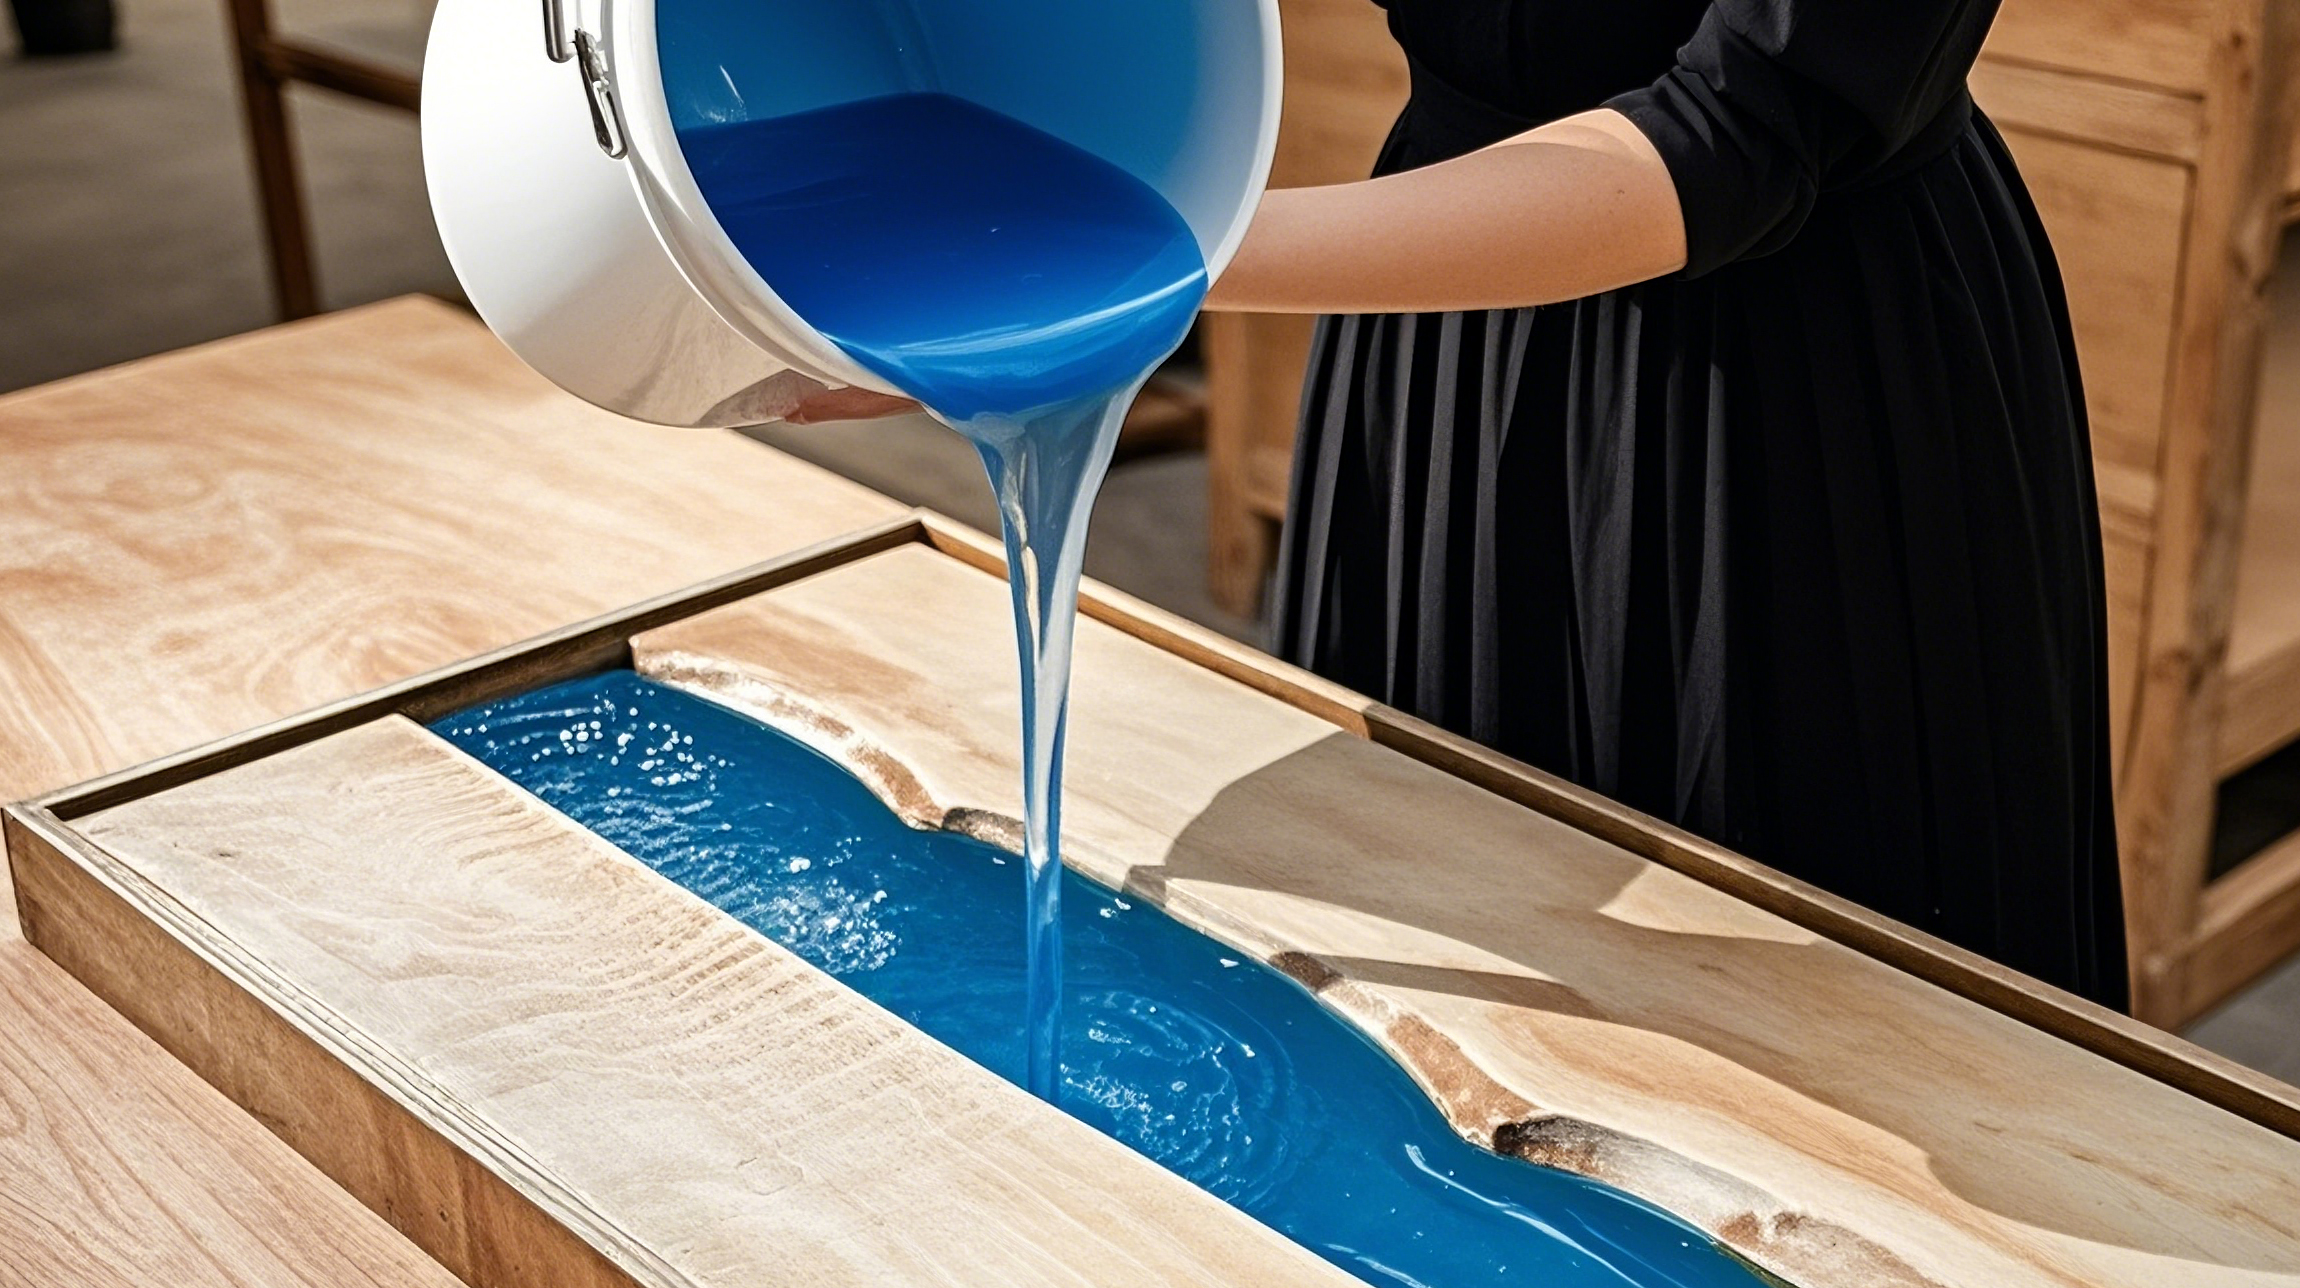
Pouring the resin slowly in layers to create depth and patterns
Pour the resin into the mold slowly and steadily. Start in the center and let it flow outward. Pouring in layers helps create depth and reduces the risk of bubbles. Allow each layer to partially cure before adding the next. This technique enhances the visual appeal of your epoxy resin table top ideas.
Creating the River Effect
The river effect is what makes these tables so captivating. Here’s how to bring your vision to life:
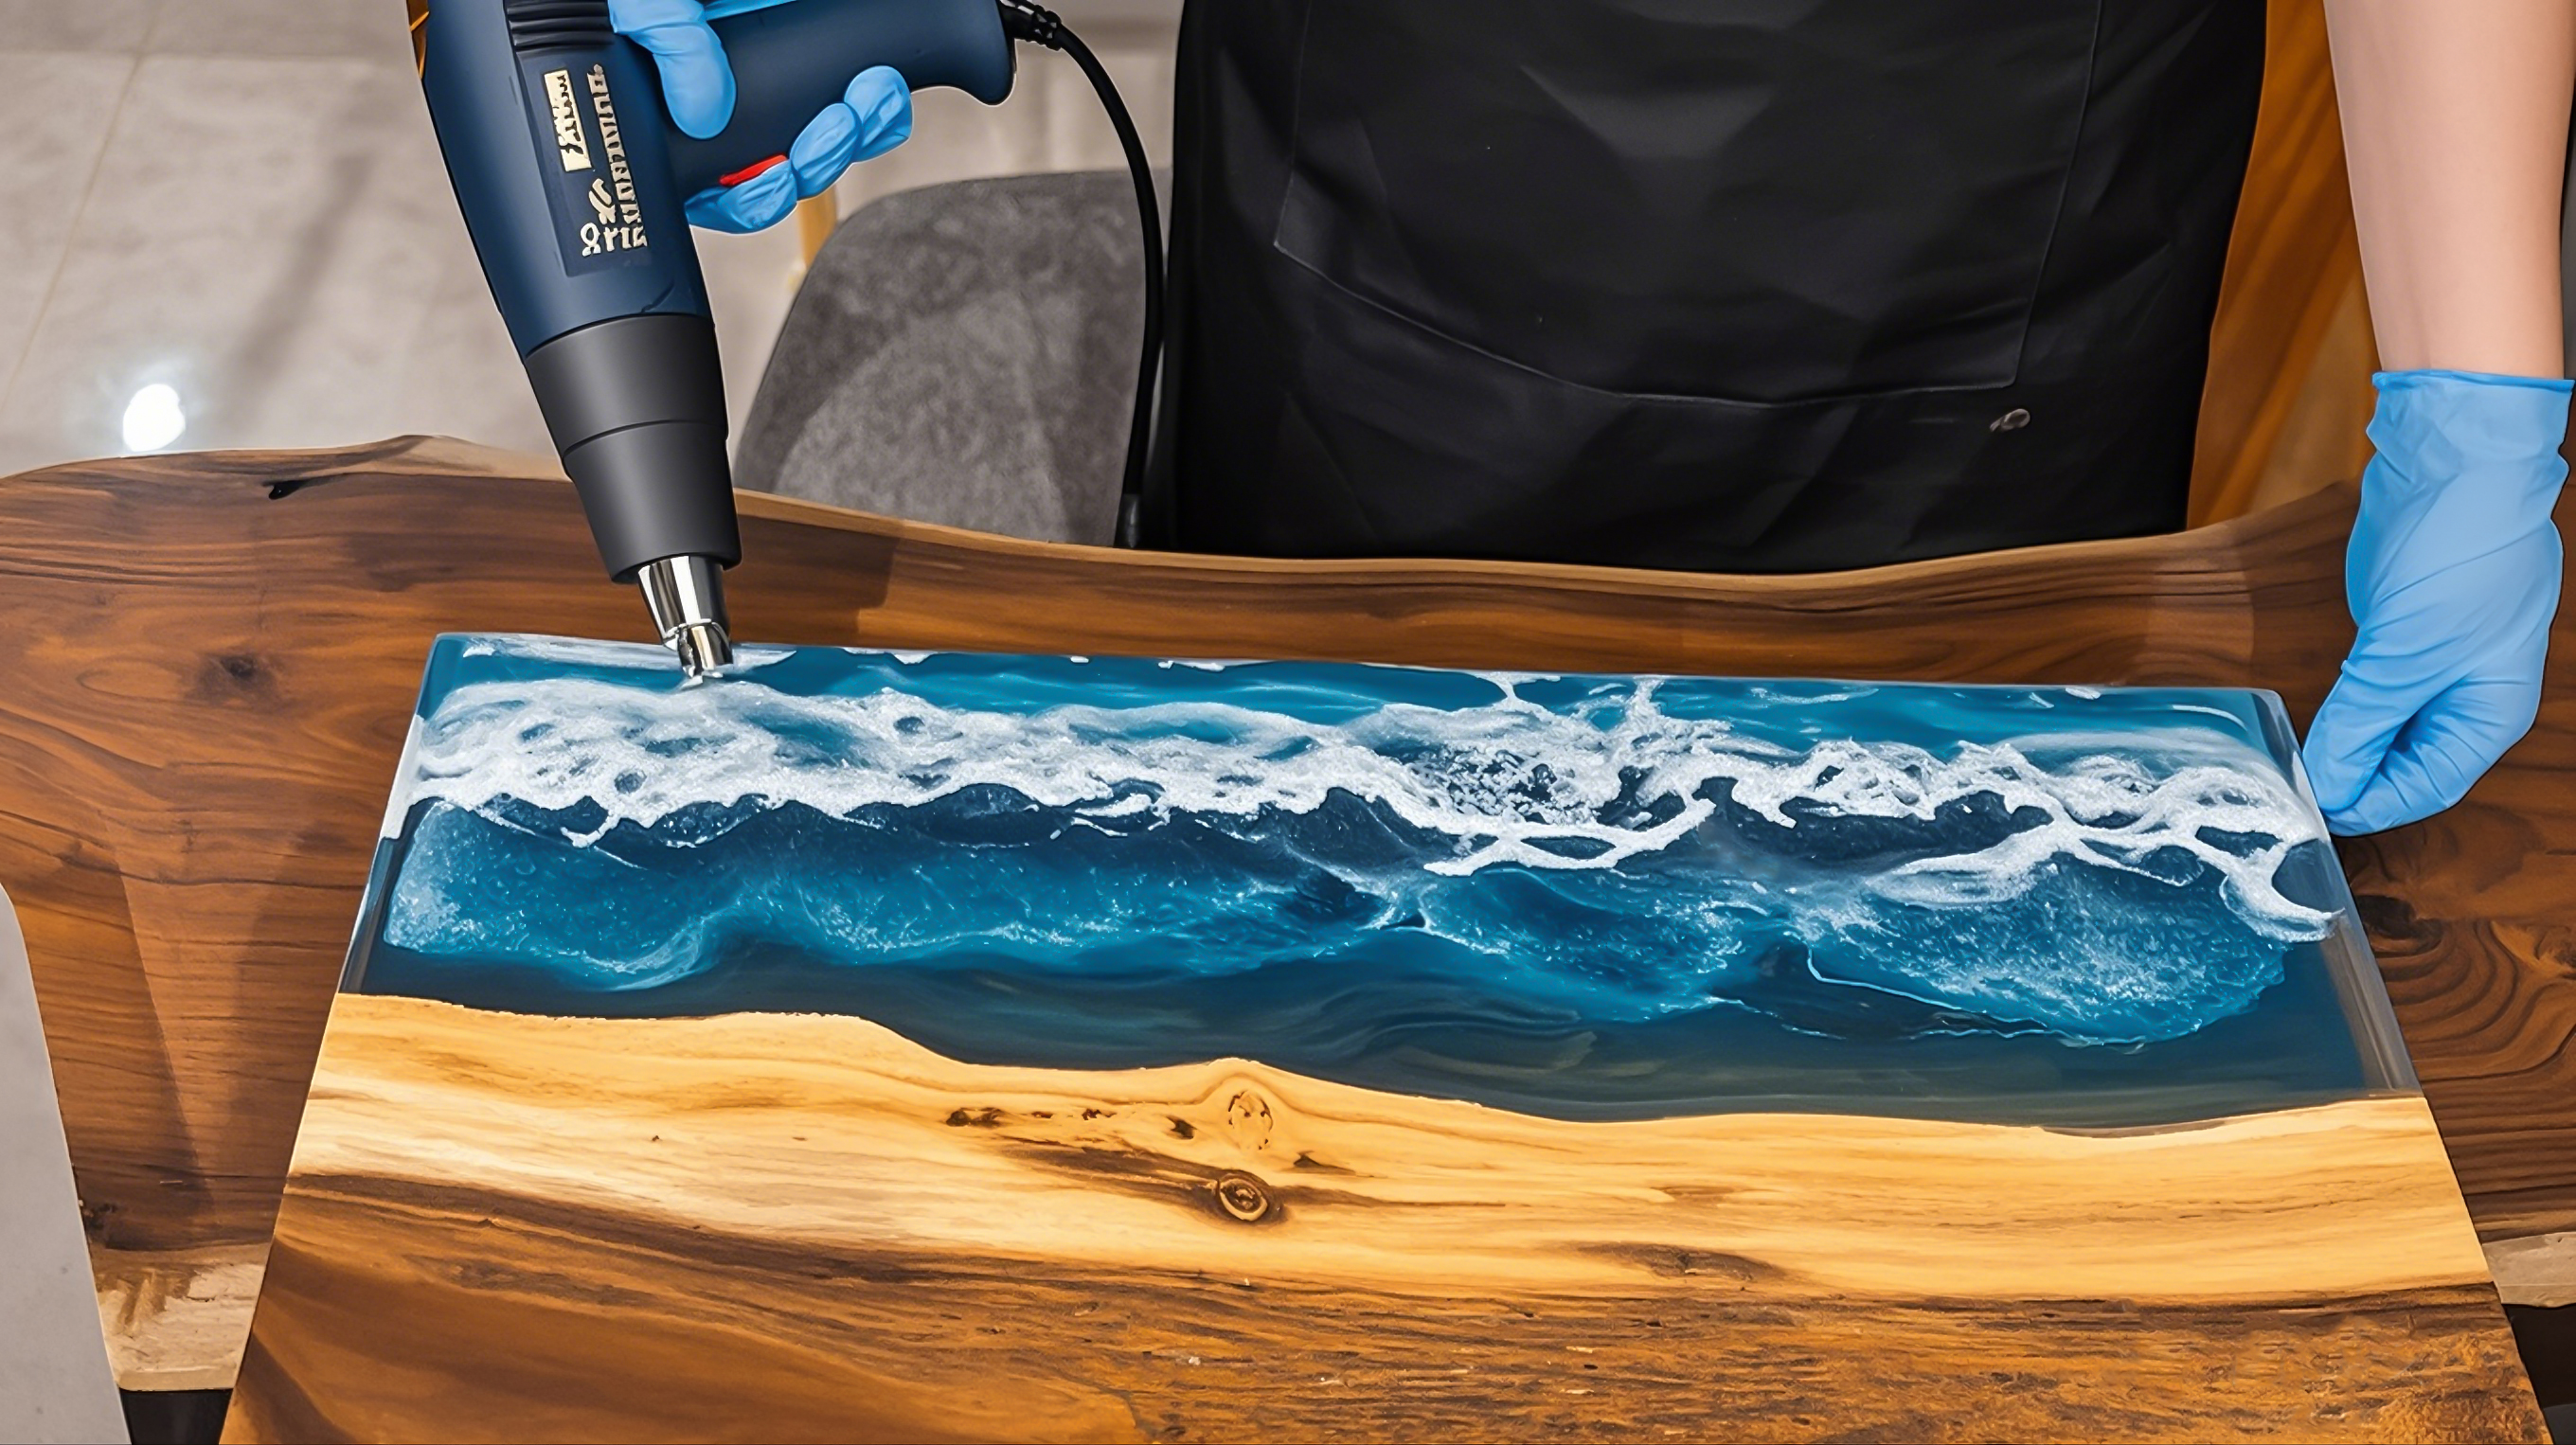
Using tools (e.g., sticks or heat guns) to manipulate the resin
After pouring the resin, use tools like wooden sticks or heat guns to shape the river effect. Drag the stick through the resin to create flowing patterns. A heat gun helps eliminate bubbles and makes the resin more fluid, allowing for smoother designs.
Quick Tip: Work quickly but carefully. Resin starts to set after a certain time, so you’ll need to complete this step before it thickens.
Adding decorative elements like stones or metallic flakes
Enhance the river effect by adding decorative elements. Place small stones, metallic flakes, or even pieces of glass into the resin. Arrange them creatively to mimic the natural look of a riverbed. Press the elements gently to ensure they stay in place.
With the mold built and the resin poured, your table is starting to take shape. This stage requires attention to detail, but the results are worth it. Take your time, follow these steps, and watch your epoxy resin table top ideas come to life beautifully.
Curing and Removing the Mold
Once you’ve poured the resin and created your river effect, the next step is curing and removing the mold. This phase is crucial for ensuring your table top sets properly and maintains its stunning appearance. Let’s dive into the details.
Allowing the Resin to Cure
Curing is the process where the resin hardens and achieves its final strength and clarity. Paying attention to this step ensures a flawless finish.
Understanding curing times based on resin type
Different epoxy resins have varying curing times. Most table-top resins require 24 to 72 hours to cure fully, but always check the manufacturer’s instructions for specifics. The curing process involves a chemical reaction between the resin and hardener, which generates heat. This reaction, known as exothermic curing, is essential for the resin to solidify.
Did You Know? Studies show that resin systems reach their optimal curing temperature at around 140 °C. However, for DIY projects, room temperature curing is sufficient and safer.
Keep your workspace at a consistent temperature, ideally between 70°F and 80°F (21°C to 27°C). Avoid drastic temperature changes, as they can cause imperfections like cracks or cloudiness in the resin.
Monitoring the curing process to avoid imperfections
During curing, monitor the resin closely. Look out for air bubbles or uneven surfaces. If bubbles appear, use a heat gun or torch to eliminate them while the resin is still in its liquid state. Avoid touching the resin during this time, as it can leave fingerprints or disrupt the curing process.
Pro Tip: Place a dust cover over your project to protect it from debris while it cures. A simple cardboard box or plastic sheet works well.
Patience is key here. Rushing the curing process can compromise the durability and appearance of your table top. Let the resin cure completely before moving on to the next step.
Removing the Mold
After the resin has cured, it’s time to remove the mold and reveal your masterpiece. This step requires care to avoid damaging your table.
Carefully disassembling the mold without damaging the table
Start by loosening the clamps or screws holding the mold together. Work slowly and methodically to prevent any sudden movements that could harm the resin or wood. If you used mold release spray or packing tape, the resin should separate easily from the mold.
Quick Tip: Use a plastic wedge or putty knife to gently pry the mold away from the table. Avoid metal tools, as they can scratch the resin surface.
If the resin sticks to the mold, don’t panic. Apply gentle heat with a hairdryer or heat gun to soften the resin slightly, making it easier to remove. Be cautious not to overheat, as this can warp the resin.
Cleaning up any excess resin or rough edges
Once the mold is off, inspect the edges of your table. You may find excess resin or rough spots that need smoothing. Use a chisel or utility knife to trim away any hardened drips. Sand the edges with coarse-grit sandpaper to even them out, then switch to finer grits for a polished finish.
Pro Tip: Wear gloves and a dust mask while sanding to protect yourself from resin particles.
After cleaning up the edges, wipe down the entire table with a damp cloth to remove dust and debris. This step prepares your table for the final finishing touches.
With the curing complete and the mold removed, your river-style epoxy resin table top is almost ready to shine. Taking your time during these steps ensures a professional-quality result that you’ll be proud to display.
Finishing the Table
The final steps in creating your river-style epoxy resin table top involve sanding, polishing, and sealing. These steps bring out the table’s beauty and ensure it lasts for years. Let’s dive into how you can achieve a professional finish.

Sanding and Polishing
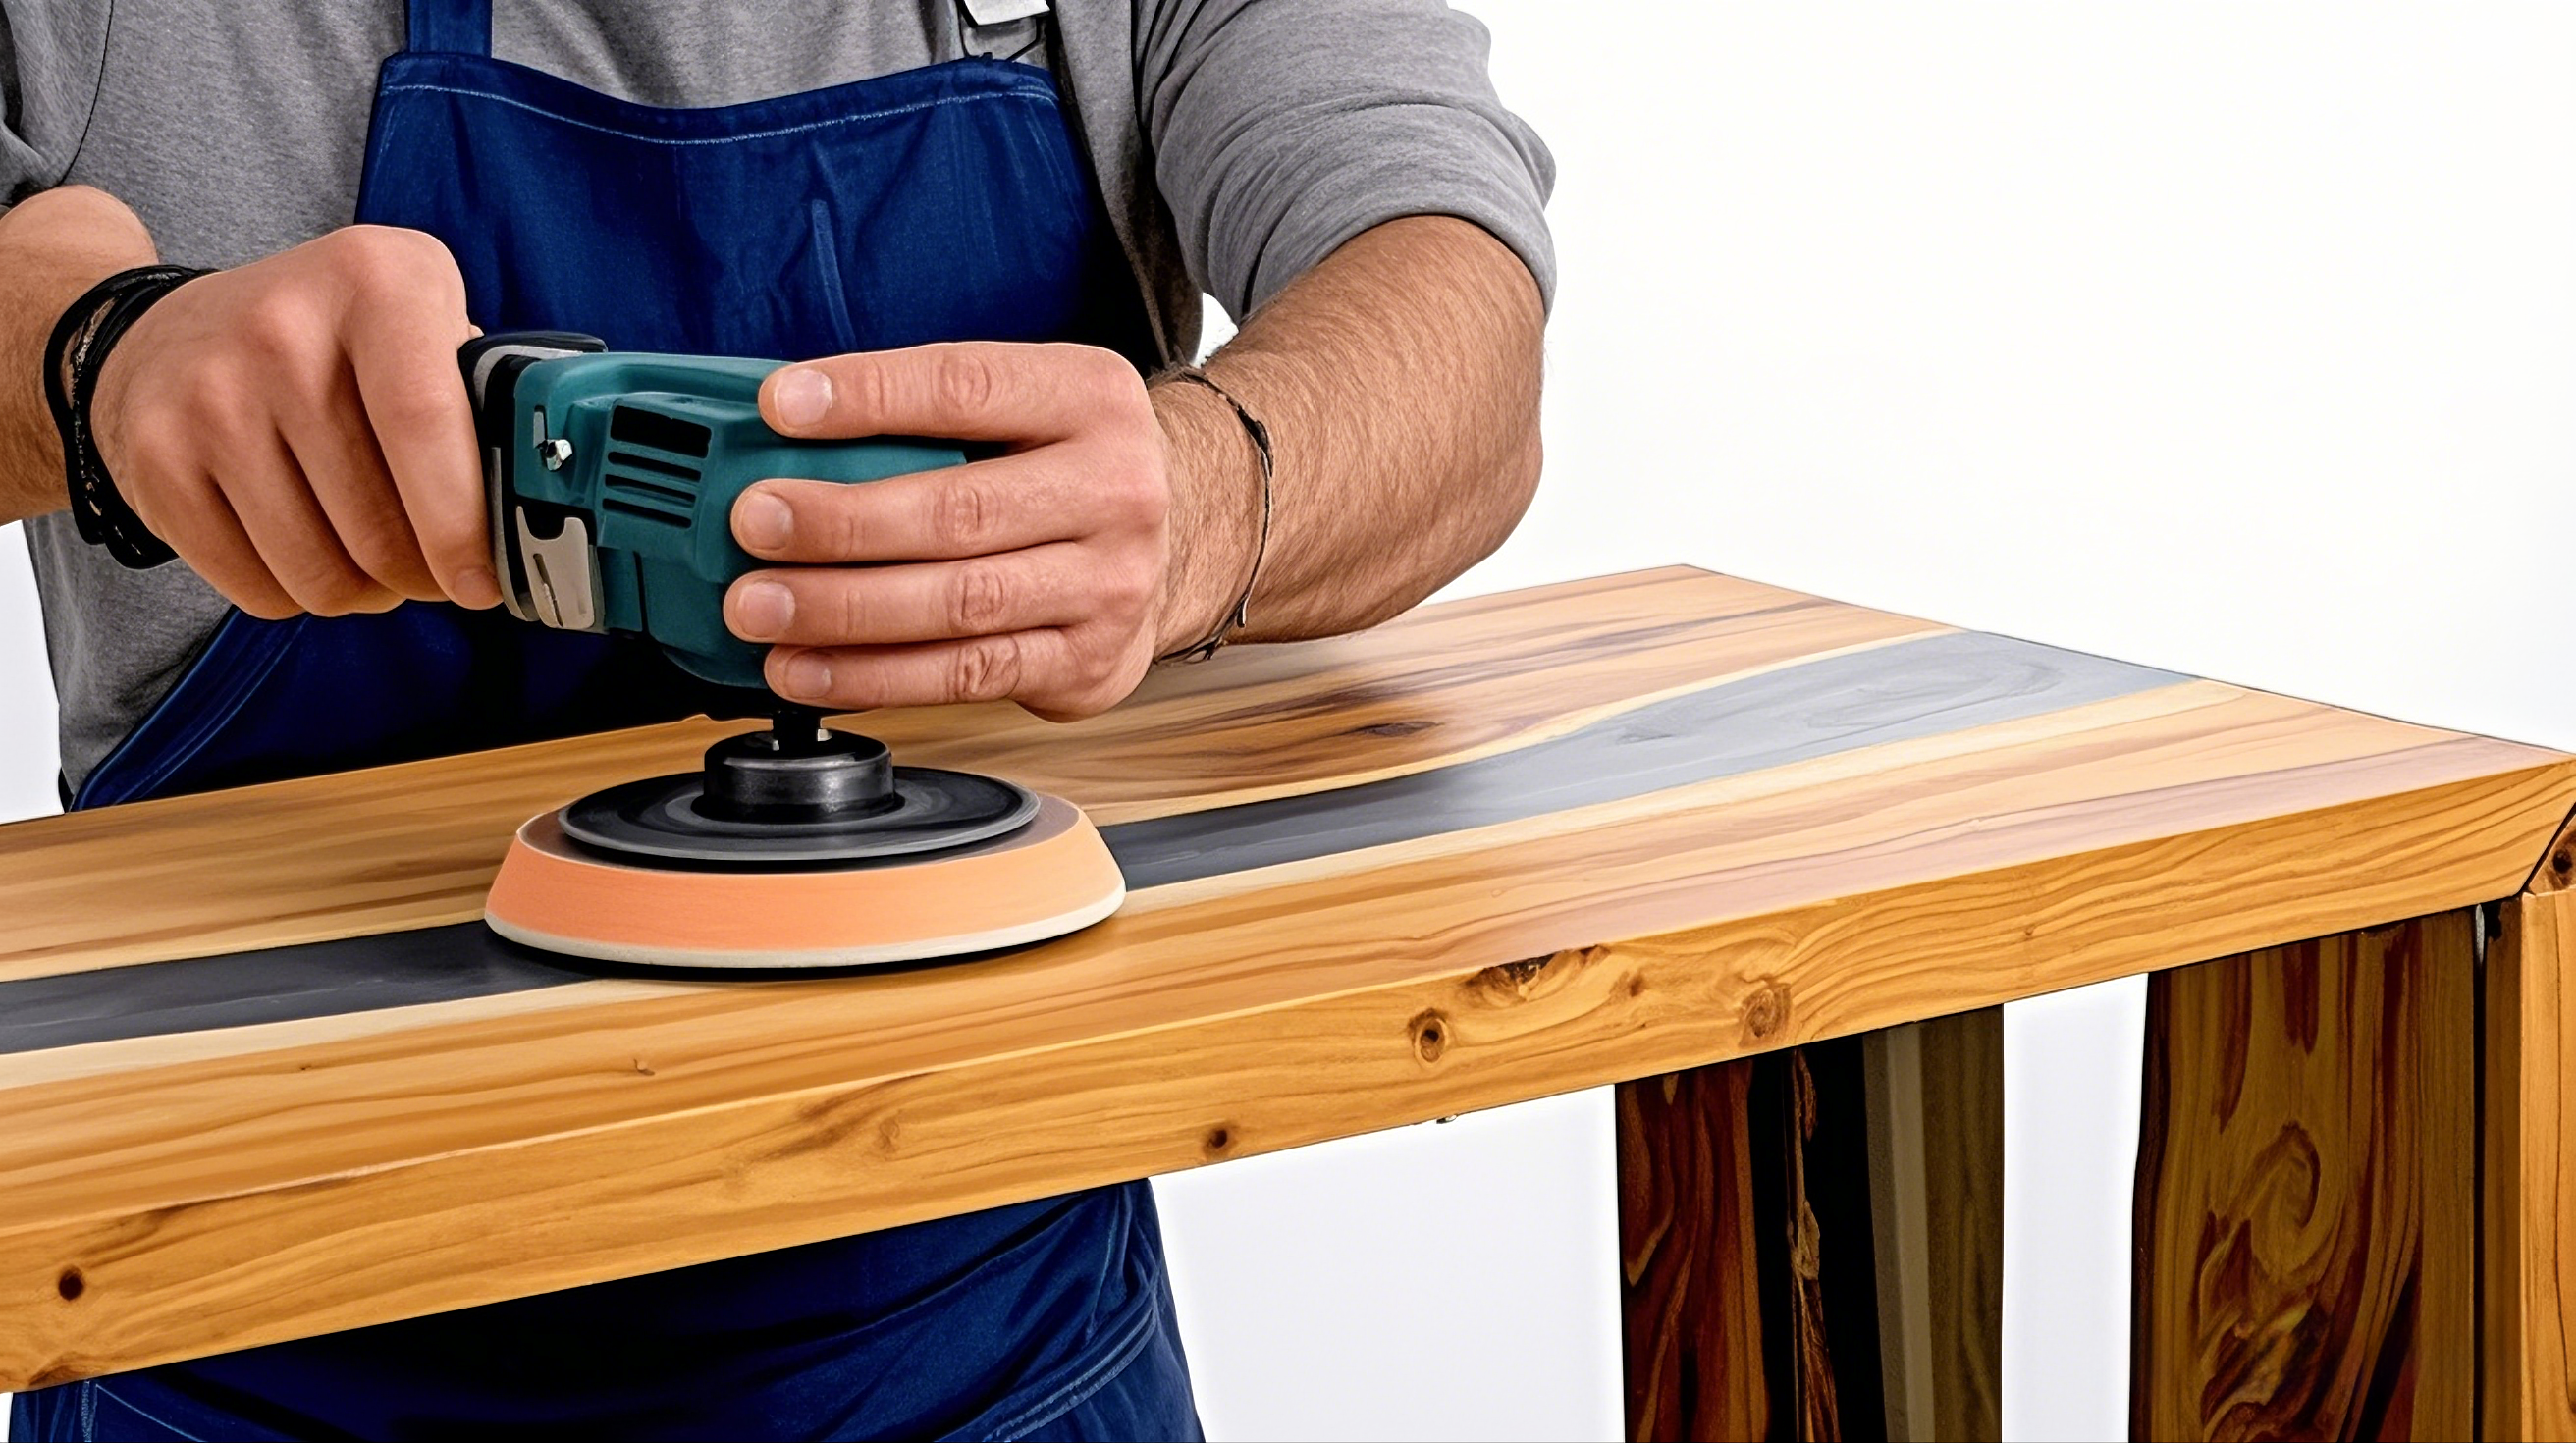
Using progressively finer sandpaper for a smooth finish
Sanding is essential for achieving a flawless surface. Start with coarse-grit sandpaper (around 80 grit) to remove any rough edges or imperfections. Gradually move to finer grits, such as 120, 220, and eventually up to 400 or higher. Each pass with finer sandpaper smooths the surface further, preparing it for polishing.
Pro Tip: Use a sanding block or an orbital sander for even pressure. This prevents uneven spots on the table.
When sanding epoxy resin, keep the surface slightly damp. A bit of water reduces dust and helps you see the areas that need more attention. Once you’ve finished sanding, wipe the table with a clean, damp cloth to remove any residue.
Polishing the surface to enhance clarity and shine
Polishing transforms the sanded surface into a glossy masterpiece. Use a liquid polishing compound designed for epoxy resin. Apply a small amount to a soft cloth or polishing pad, then buff the surface in circular motions. Work in sections to ensure even coverage.
For a high-gloss finish, repeat the process until the surface gleams. If you prefer a subtler look, stop after the first round of polishing. Either way, polishing enhances the clarity of the resin and highlights the natural beauty of the wood.
Quick Tip: Avoid over-polishing, as it can create heat and damage the resin. Take your time and polish gently.
Sealing and Protecting
Applying a protective finish (e.g., oil, polyurethane)
Sealing your table protects it from scratches, moisture, and wear. Choose a finish that suits your desired look. For a glossy appearance, use a high-gloss polyurethane or a two-part epoxy clear coat. If you prefer a matte finish, opt for matte polyurethane or matte epoxy clear coats.
Apply the finish with a foam brush or lint-free cloth. Work in thin, even layers, following the grain of the wood. Allow each layer to dry completely before applying the next. Most finishes require two to three coats for optimal protection.
Did You Know? Polyurethane finishes are highly durable and resistant to water, making them ideal for tables used in dining or outdoor spaces.
Tips for maintaining the table’s appearance over time
To keep your table looking its best, follow these maintenance tips:
Clean regularly: Wipe the surface with a soft, damp cloth to remove dust and spills. Avoid abrasive cleaners that can scratch the resin.
Protect from heat: Use coasters or trivets for hot items. Direct heat can damage the resin or finish.
Avoid direct sunlight: Prolonged exposure to UV rays can cause discoloration. Place your table in a shaded area or use UV-resistant finishes.
Reapply finish as needed: Over time, the protective layer may wear down. Reapply a fresh coat of finish every few years to maintain durability.
Pro Tip: For minor scratches, use a polishing compound to buff them out. This quick fix restores the table’s smooth surface without needing a full refinishing.
With sanding, polishing, and sealing complete, your epoxy resin table top ideas have come to life. These finishing touches not only enhance the table’s appearance but also ensure it remains a stunning centerpiece for years to come.
Cost Estimation and Tips for Success
Creating a river-style epoxy resin table top can feel like a big project, but understanding the costs and following some practical tips will make it manageable. Let’s break down the expenses and explore ways to ensure your project’s success.
Breaking Down the Costs
Approximate costs for tools, materials, and wood
Building a river-style table involves a mix of tools, materials, and wood. Here’s a general idea of what you might spend:
Epoxy Resin and Hardener: High-quality epoxy resin designed for table tops typically costs $70–$150 per gallon. The amount you need depends on your table size and the depth of the resin pour.
Wood Slabs: Live edge wood slabs, such as walnut or maple, range from $100–$500 per piece. The price varies based on the type, size, and quality of the wood.
Tools: If you don’t already own tools like a saw, sander, or drill, expect to spend $200–$500. Renting tools is a cost-effective option if you’re on a budget.
Mold Materials: Melamine boards, clamps, and silicone caulk for the mold cost around $50–$100.
Pigments or Dyes: Adding color to your resin requires pigments or dyes, which cost $10–$30 per set.
Finishing Supplies: Sandpaper, polishing compounds, and protective finishes like polyurethane add another $30–$50.
Quick Tip: Plan for a total budget of $400–$1,000, depending on the size of your table and the quality of materials you choose.
Budget-friendly alternatives for beginners
If you’re new to epoxy resin projects, there are ways to save money without compromising quality:
Use smaller wood slabs: Start with a smaller table or even a serving tray to reduce wood and resin costs.
Opt for reclaimed wood: Reclaimed or salvaged wood is often cheaper and adds character to your project.
Borrow or rent tools: Ask friends or family if they have tools you can borrow. Many hardware stores also offer affordable tool rentals.
DIY mold materials: Instead of melamine boards, use scrap wood or cardboard lined with packing tape as a temporary mold.
Pro Tip: Experiment with leftover resin and wood pieces before committing to a full-sized table. This helps you practice techniques and avoid costly mistakes.
Tips for a Successful Project
Testing resin mixtures on small samples first
Before pouring resin on your table, test it on a small sample. Mix a small batch of resin and hardener, add pigments, and pour it onto a scrap piece of wood. This allows you to:
Check the color and transparency of the resin.
Practice eliminating air bubbles with a heat gun or torch.
Ensure the resin cures properly without imperfections.
Why It Matters: Testing helps you avoid surprises and gives you confidence when working on the actual table.
Avoiding common mistakes like air bubbles or uneven pours
Air bubbles and uneven resin layers can ruin the look of your table. Here’s how to avoid these issues:
Mix slowly: Stir the resin and hardener gently to minimize air bubbles.
Pour in layers: Pour the resin in thin layers, allowing each one to partially cure before adding the next. This creates depth and reduces bubbles.
Use a heat gun: Pass a heat gun or torch over the resin surface to pop any bubbles that rise to the top.
Quick Fix: If you notice bubbles after the resin has cured, sand the surface and apply a thin topcoat of resin to smooth it out.
Staying patient and allowing adequate curing time
Patience is your best friend during this project. Rushing the curing process can lead to imperfections like cloudiness or cracks. Follow these tips:
Allow the resin to cure for the full time recommended by the manufacturer, usually 24–72 hours.
Keep the workspace at a consistent temperature to ensure even curing.
Avoid touching or moving the table while the resin sets.
Pro Tip: Cover your project with a dust-free box or plastic sheet to protect it during curing.
By understanding the costs and following these tips, you’ll set yourself up for success. Whether you’re a beginner or an experienced DIYer, careful planning and attention to detail will help you create a stunning river-style epoxy resin table top that you’ll be proud to showcase.

Creating a river-style epoxy resin table top is an exciting journey that combines creativity and craftsmanship. You’ve learned how to prepare the wood, build the mold, pour the resin, and add those stunning finishing touches. With patience and practice, you can achieve results that rival professional designs.
Don’t let the process intimidate you. Many DIYers, just like you, started with no experience and discovered the joy of experimenting. The possibilities are only as limited as your imagination. So, gather your materials, unleash your creativity, and start crafting your masterpiece today!
We’d love to see your creations! Share your projects or ask questions in the comments below.

